
Development tutorial with a sample React.js SPA and Node.js REST API.
Table of contents
- What is a protected web app?
- What you will learn
- Requirements
- ForgeRock Setup
- Local project setup
- Build and run the project
- View the app in browser
- Implementing the ForgeRock SDK
- Step 1. Configure the SDK to your ForgeRock server
- Step 2. Building the login page
- Step 3 Handling the login form submission
- Step 4. Continuing to the OAuth 2.0 flow
- Step 5. Request user information
- Step 6. Reacting to the presence of the access token
- Step 7. Validating the access token
- Step 8. Request protected resources with an access token
What is a protected web app?
A protected app (client or server) is simply an app that uses some type of access artifact to ensure a user’s identity and permissions prior to giving access to a resource. This “access artifact” can be a session cookie, an access token, or an assertion, and is shared between the entities of a system.
Additionally, a protected web app (client) is responsible for providing a user a method of acquiring, using, and removing this access artifact upon request. This responsibility of managing the artifact is what will be the focus of this guide.
What you will learn
React JS (or, simply, React) is a popular, JavaScript view-library from Facebook. As with most libraries and frameworks, it recommends or requires particular patterns and conventions for development. Since ForgeRock doesn’t (as of this writing) provide a React version of our SDK, we want to present this how-to as a guide through a basic implementation of our core JavaScript SDK using the React patterns and conventions commonly prescribed by the community.
This guide uses the ForgeRock JavaScript SDK to implement the following application features:
- Dynamic authentication form for login
- OAuth/OIDC token acquisition through the Authorization Code Flow with PKCE
- Protected client-side routing
- Resource requests to a protected REST API
- Logout
This is not a guide on how to build a React app
How React apps are architected or constructed is outside of the scope of this guide. It’s also worth noting that there are many React-based frameworks and generators for building web applications (e.g. Next.js, Create React App, Gatsby). What is “best” is highly contextual to the product and user requirements for any given project.
To simply demonstrate our SDK integration, we will be using a simplified, non-production-ready, to-do app. This to-do app represents a Single Page Application (SPA) with nothing more than React Router added to “the stack” for routing and redirection.
Using this guide
This is a “hands on” guide. We are providing the web app and resource server for you. You can find the repo on Github to follow along. All you’ll need is your own ForgeRock Identity Cloud or Access Manager. If you don’t have access to either, and you are interested in ForgeRock’s Identity and Access Management platform, reach out to a representative today, and we’ll be happy to get you started.
Two ways of using this guide
- Follow along by building portions of the app yourself: continue by ensuring you can meet the requirements below
- Just curious about the React implementation details: skip to Implementing the ForgeRock SDK
Requirements
Knowledge requirements
- JavaScript and its ecosystem of modules
- The command line interface (e.g. Terminal, Shell or Bash)
- Functional components: we will be using the functional-style, React components
- Hooks: local state and side-effects will be managed with this concept
- Context API: global state will be managed with this concept
- React Router: our choice of handling “pages” and redirection
Technical requirements
- Admin access to an instance of ForgeRock ID Cloud or Access Manager (referred to as AM)
- Node 14 or higher along with npm
- A tool or service to generate security certificates (self-signed is fine)
ForgeRock Setup
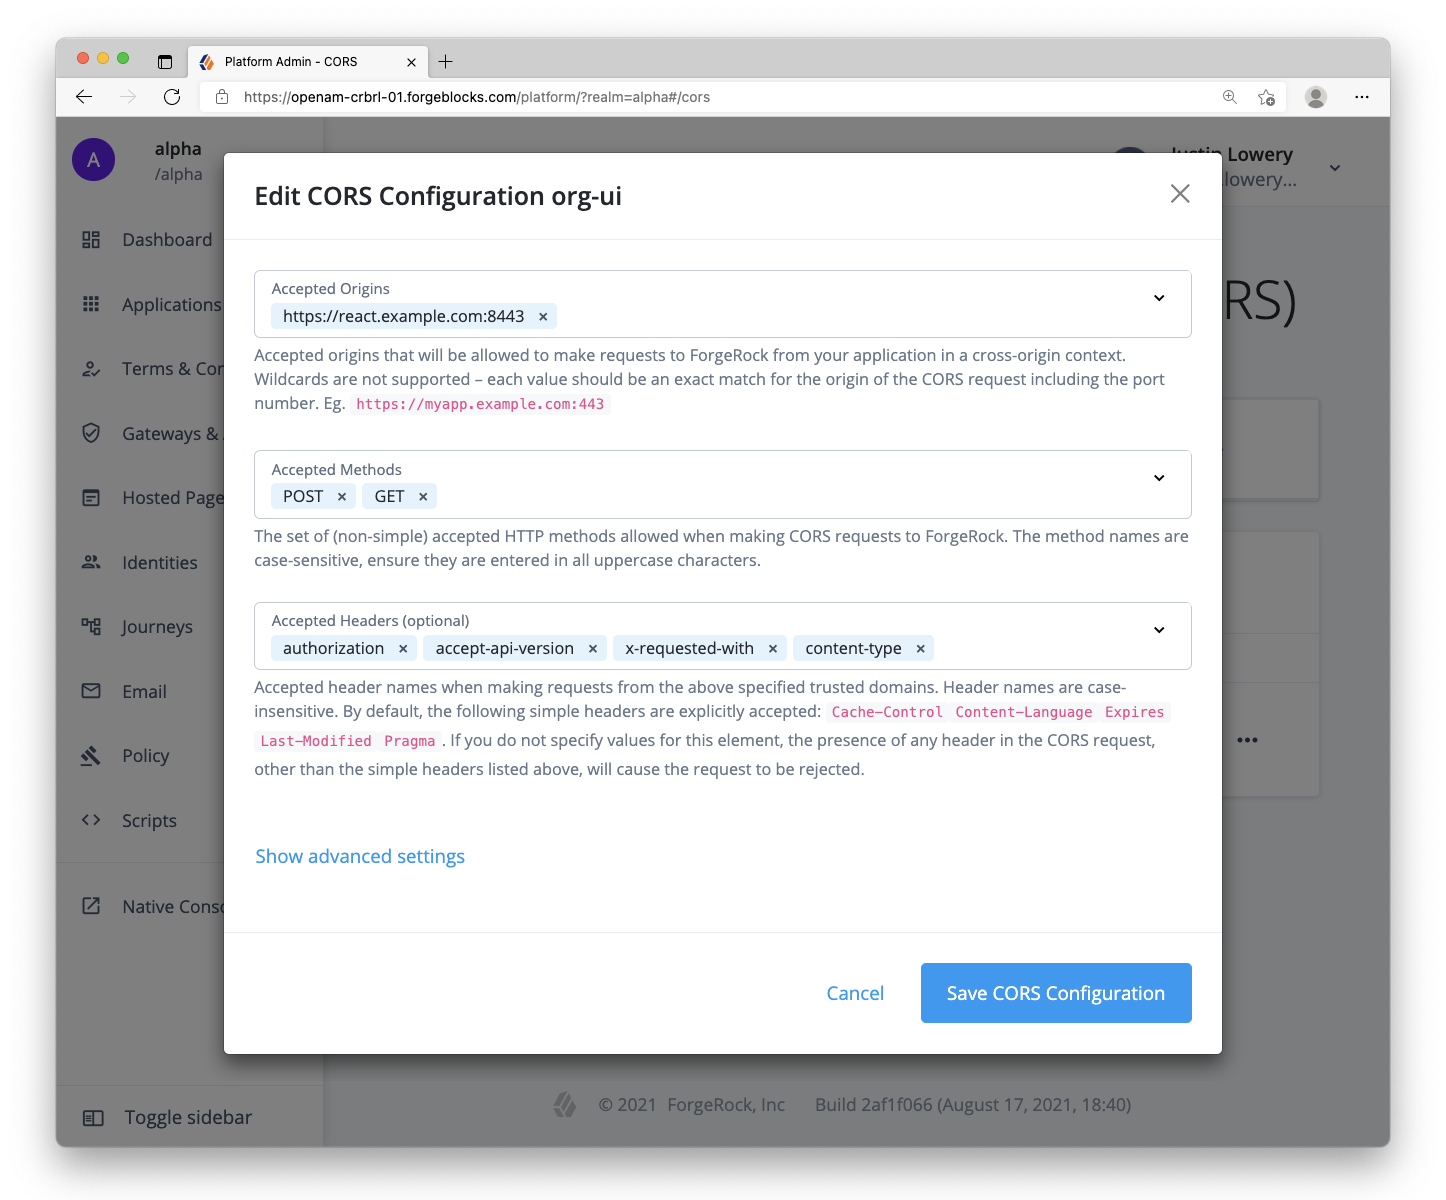
Step 1. Configure CORS (Cross-Origin Resource Sharing)
Due to the fact that pieces of our system will be running on different origins (scheme, domain and port), we will need to configure CORS in the ForgeRock server to allow our web app to make requests. Use the following values:
- Allowed Origins:
https://react.example.com:8443 - Allowed Methods:
GETPOST - Allowed headers:
accept-api-versionauthorizationcontent-typex-requested-with - Allow credentials: enable
For more information about CORS configuration, visit our ForgeRock documentation for CORS on AM or for CORS configuration on ID Cloud.
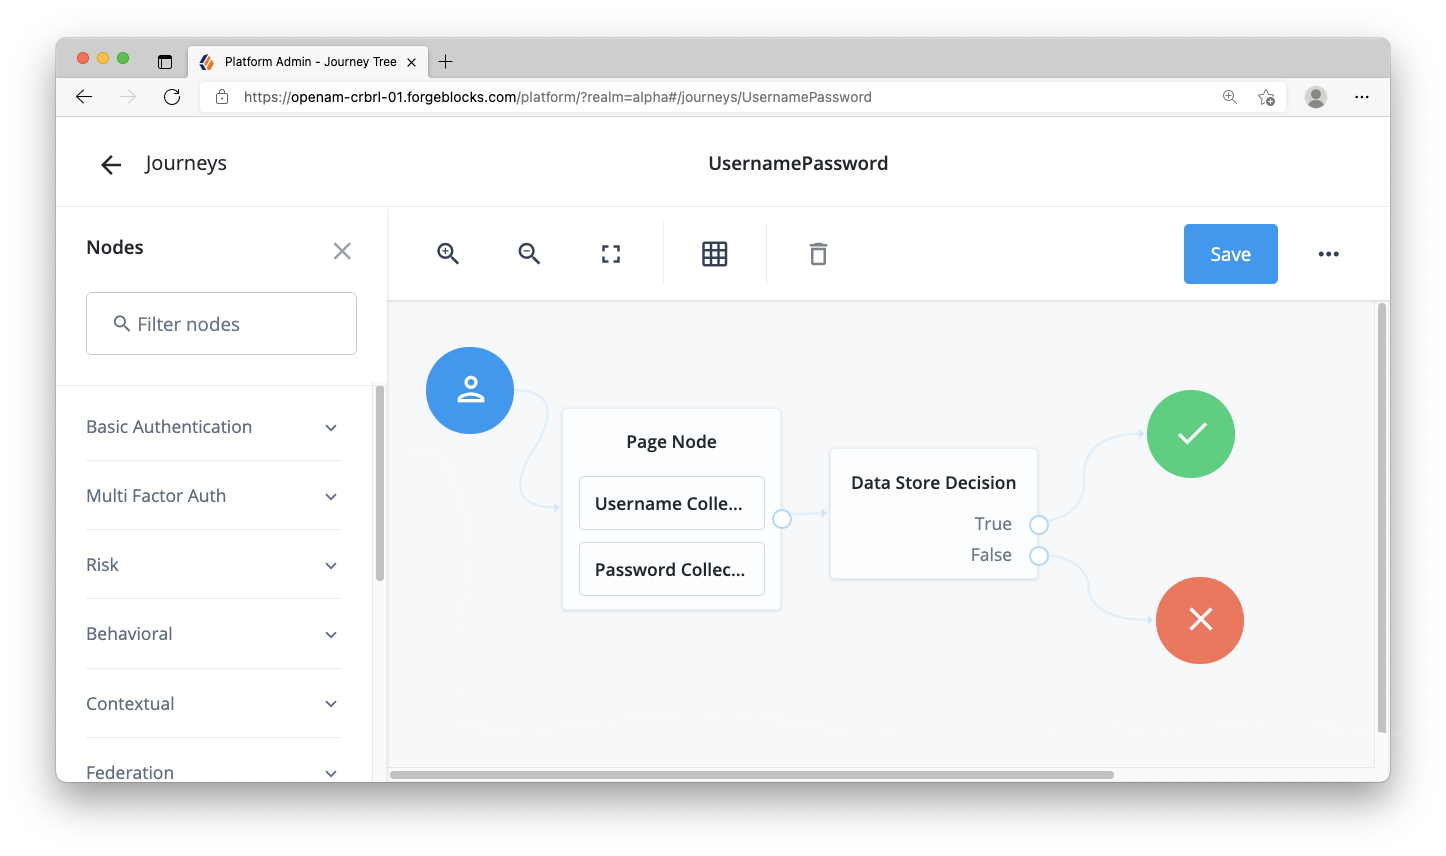
Step 2. Create simple login journey/tree
You will need a simple username and password authentication journey/tree (referred to as “journey”) for this guide.
- Create a Page Node and connect it to the start of the journey
- Add the Username Collector and Password Collector nodes within the Page Node
- Add the Data Store Decision node and connect it to the Page Node
- Connect the
Trueoutcome of the decision node to the Success node - Connect the
Falseoutcome of the decision node to the Failure node
For more information about building journeys/trees, visit our ForgeRock documentation for tree configuration on AM or for journey configuration on ID Cloud.
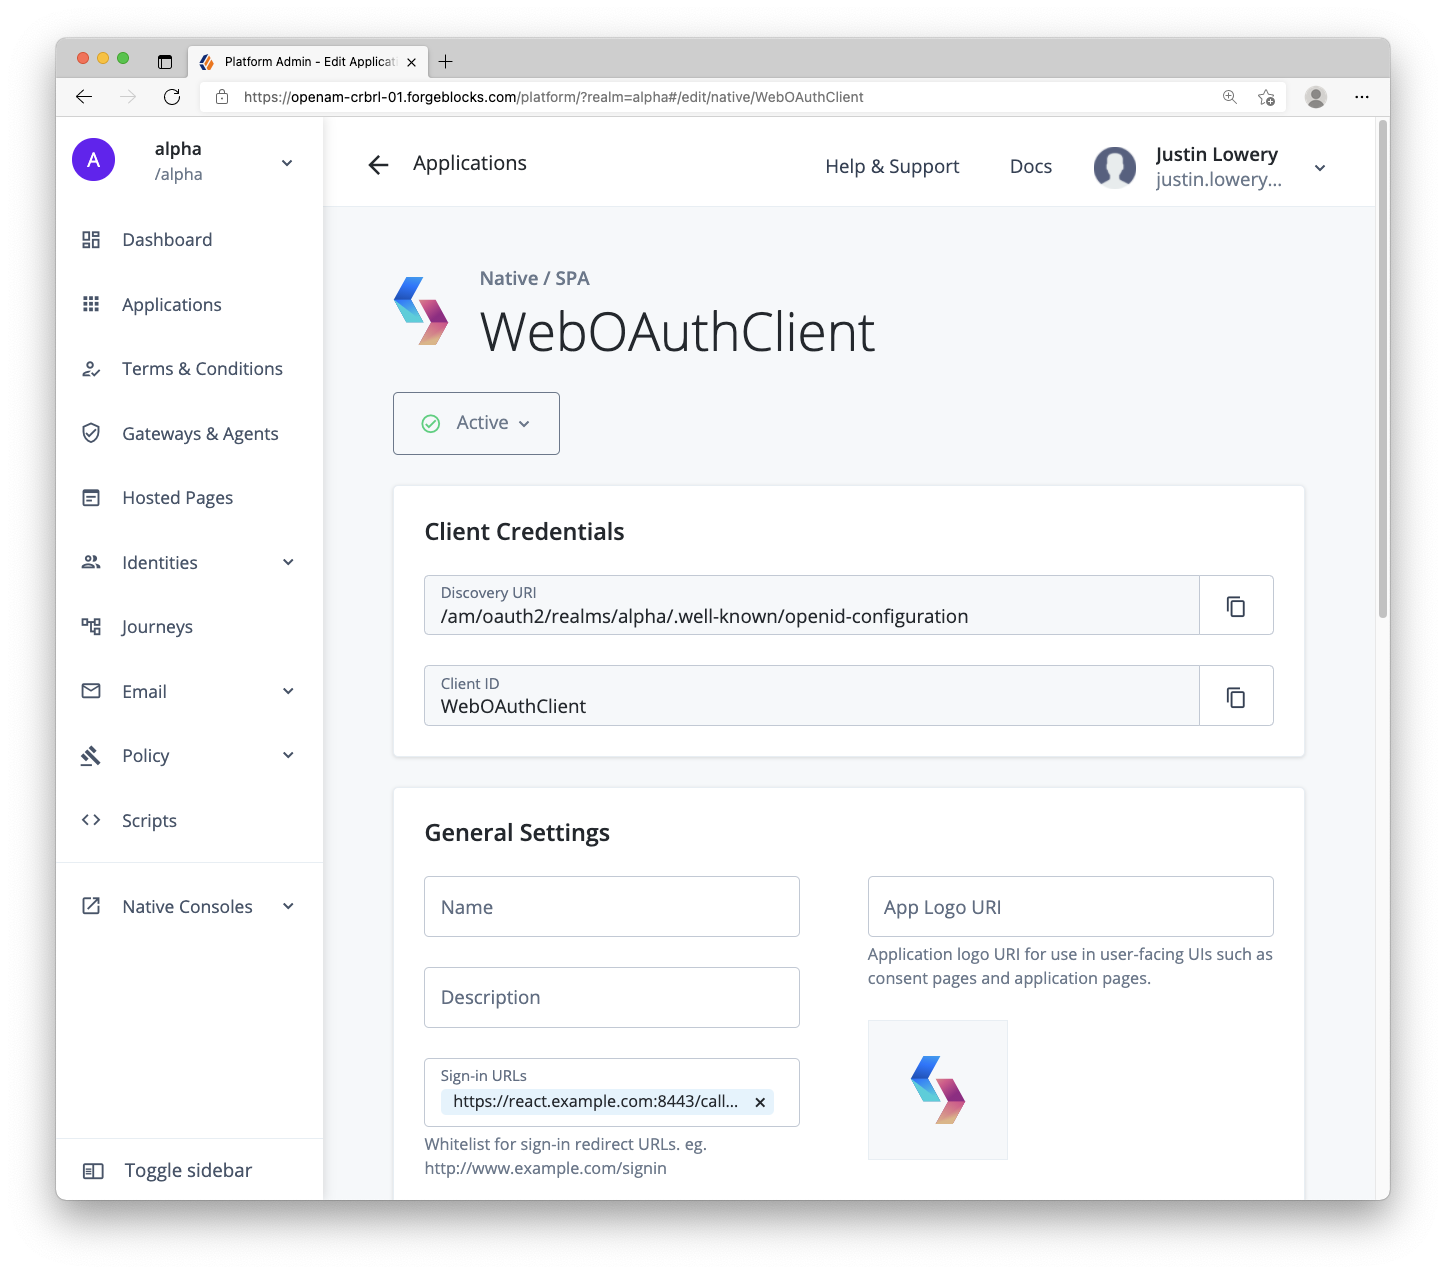
Step 3. Create two OAuth clients
Within the ForgeRock server, create two OAuth clients: one for the React web app, and one for the Node.js resource server.
Why two? It’s conventional to have one OAuth client per app in the system. For this case, a public OAuth client for the React app will provide our app with OAuth/OIDC tokens. The Node.js server will validate the user’s Access Token shared via the React app using its own confidential OAuth client.
Public OAuth client settings
- Client name/ID:
WebOAuthClient - Client type:
Public - Secret:
<leave empty> - Scopes:
openidprofileemail - Grant types:
Authorization Code - Implicit consent: enabled
- Redirection URLs/Sign-in URLs:
https://react.example.com:8443/callback - Token authentication endpoint method:
none
Confidential OAuth client settings
- Client name/ID:
RestOAuthClient - Client type:
Confidential - Secret:
<alphanumeric string>(treat it like a password) - Default scope:
am-introspect-all-tokens - Grant types:
Authorization Code - Token authentication endpoint method:
client_secret_basic
For more information about configuring OAuth clients, visit our ForgeRock documentation for OAuth 2.0 client configuration on AM or for OAuth client/application configuration on ID Cloud.
Step 4. Create a test user
Create a simple test user (identity) in your ForgeRock server within the realm you will be using.
If using ForgeRock ID Cloud, follow our ForgeRock documentation for creating a user in ID Cloud.
If you are using ForgeRock’s AM, click on Identities item in the left navigation. Use the following instructions to create a user:
- Click on Add Identity to view the create user form
- In a separate browser tab, visit this UUID v4 generator copy the UUID
- Switch back to AM and paste the UUID into the input
- Provide a password and email address
Note: You will use this UUID as the username for logging into the React app.
Local project setup
Step 1. Installing the project
First, clone the JavaScript SDK project to your local computer, cd (change directory) into the project folder, checkout the branch for this guide, and install the needed dependencies:
git clone https://github.com/ForgeRock/forgerock-javascript-sdk.git
cd forgerock-javascript-sdk
git checkout blog/build-protected-app/start
npm i
NOTE: The branch that will be used in this guide will be an overly-simplified version of the sample app you see in the master Git branch. There’s also a branch that represents the completion of this guide. If you get stuck, you can visit blog/build-protected-app/complete branch in Github.
Step 2. Create your security certificates
Apps that deal with authentication or authorization require HTTPS (secure protocol), which necessitates the use of security (SSL/TLS) certificates. For local testing and development, it’s common to generate your own self-signed certificates.
You’re free to use any method to do this, but if you need assistance in generating your own certs, mkcert can help simplify the process. After following mkcert’s installation guide and simple example of creating certs, you should have two files:
example.com+5.pemexample.com+5-key.pem.
Ensure these two files are in the root of this project.
Warning: Self-signed certificates or certificates not from an industry-recognized, certificate authority (CA) should never be used in production.
Step 3. Set local domain aliasing
Edit your hosts file to point special domains to your localhost . If you’re on a Mac, the file can be found here: /etc/hosts. If you are on Windows, it will be found here (or similar): System32\Drivers\etc\hosts. Open the file as an administrator or as sudo, and add the following line:
127.0.0.1 react.example.com api.example.com
This allows for easier operation of the app locally and keeps it consistent with how it operates on the Web.
Step 4. Create the .env file
First, open the samples/reactjs-todos directory. Look for the .env.example file. Copy this file and name it .env. Add your relevant values to this new file as it will provide all the important configuration settings to your applications.
Here’s a hypothetical example:
AM_URL=https://auth.forgerock.com/am
APP_URL=https://react.example.com:8443
API_URL=https://api.example.com:9443
DEBUGGER_OFF=false
DEVELOPMENT=true
JOURNEY_LOGIN=Login
JOURNEY_REGISTER=Registration
SEC_KEY_FILE=key-file.pem
SEC_CERT_FILE=cert-file.pem
REALM_PATH=alpha
REST_OAUTH_CLIENT=RestOAuthClient
REST_OAUTH_SECRET=6MWE8hs46k68g9s7fHOJd2LEfv
WEB_OAUTH_CLIENT=WebOAuthClient
Here are descriptions for some of the values:
DEBUGGER_OFF: whentrue, this disables thedebuggerstatements in the app. These debugger statements are for learning the integration points at runtime in your browser. When the browser’s developer tools are open, the app will pause at each integration point. Code comments will be placed above them explaining its use.DEVELOPMENT: whentrue, this provides better debugging during developmentJOURNEY_LOGIN: the name of your simple login journey (created above)JOURNEY_REGISTER: the name of your registration journey (not needed for this guide)REALM_PATH: the realm of your ForgeRock server (likelyroot,alphaorbeta)
Build and run the project
Now that everything is setup, build and run the to-do app project. Open two terminal windows and use the following commands at the root directory of the SDK repo:
# In one terminal window
npm run watch -w reactjs-todo

# In the other terminal window
npm start -w reactjs-todo
Note: we use npm workspaces to manage our sample apps, so using the -w option specifies what you want to build, watch and start.
The watch command watches for file changes and rebuilds the project when necessary. The start command runs the two web servers needed for the client app and resource server. You do not need to restart either command, unless you do the following:
- Modify your
.envfile (restart thewatchandstartcommand) - Modify the
webpack.config.jsfile (restartwatchcommand) - Modify any file within the
/serverdirectory (restartstartcommand) - Modify either security certificate (restart
startcommand)
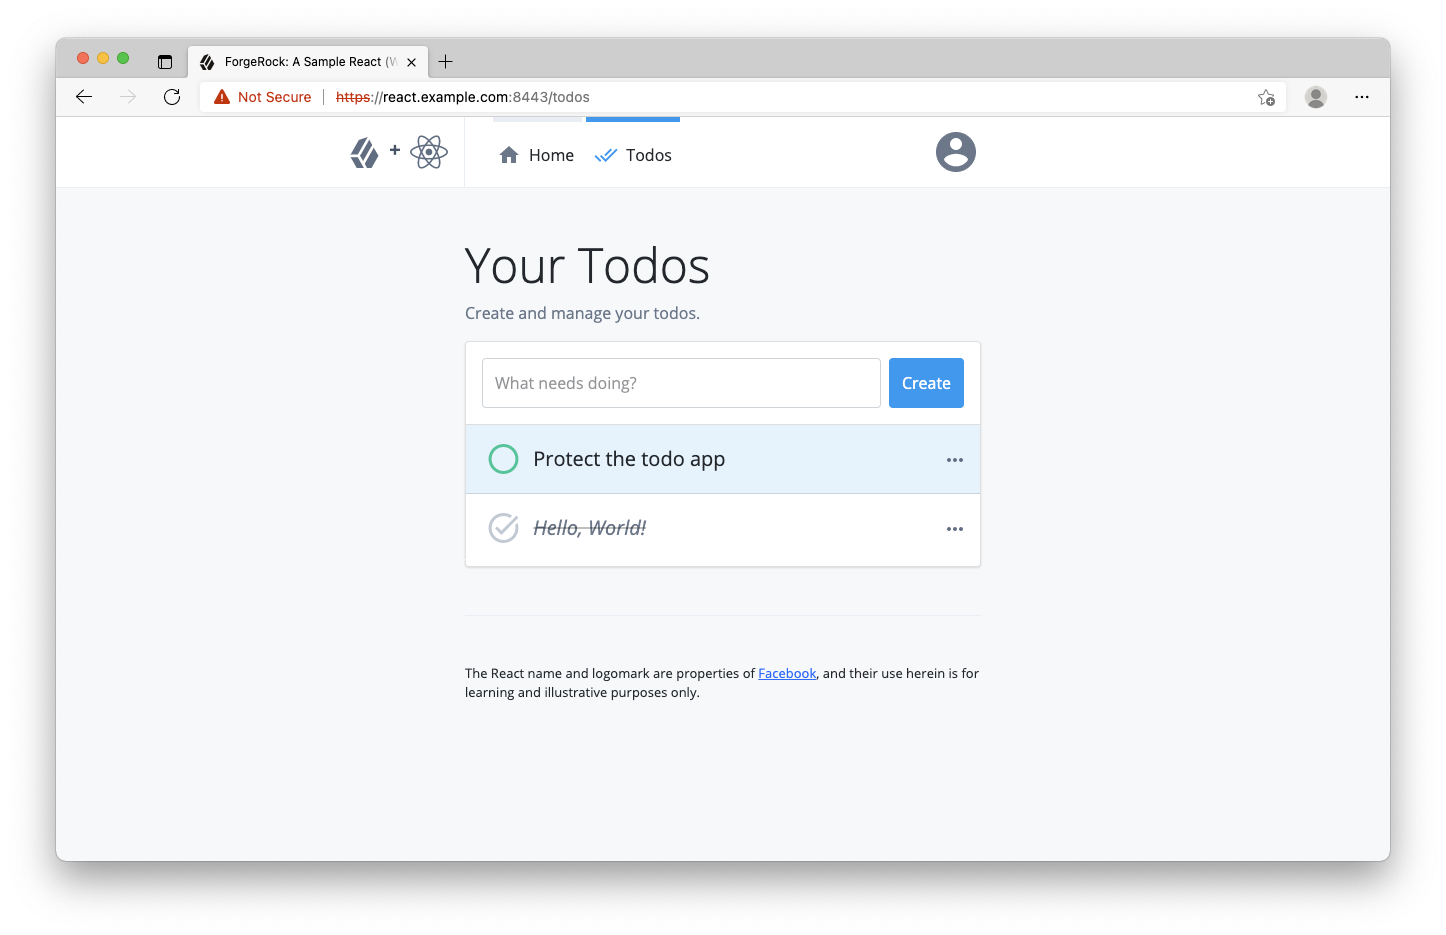
View the app in browser
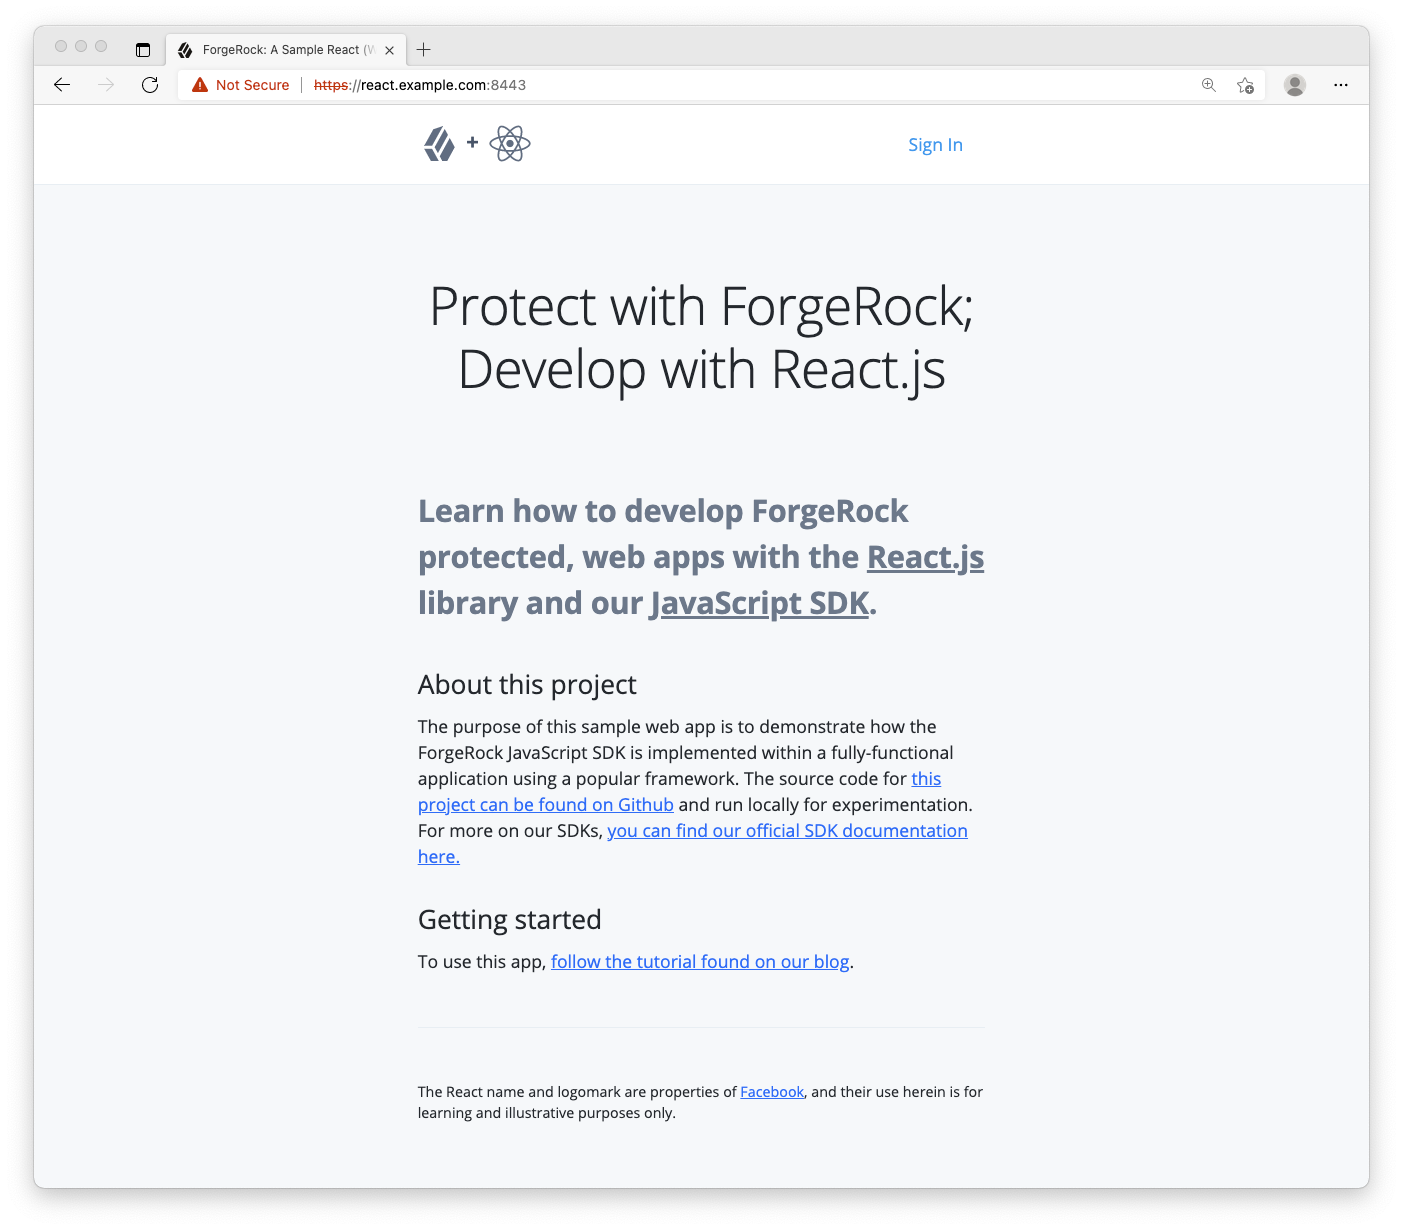
In a different browser than the one you are using to administer the ForgeRock server, visit the following URL: https://react.example.com:8443 (I typically use Edge for the app and Chrome for the ForgeRock server). A home page should be rendered explaining the purpose of the project. It should look like the below (it may be dark if you have the dark theme/mode set in your OS):
If you encounter errors, here are a few tips:
- Visit
https://api.example.com:9443/health-checkin the same browser you use for the React app; ensure it responds with “OK” - Ensure your
hostsfile has the correct aliases - Check the terminal that has the
watchcommand running for error output - Ensure you are not logged into the ForgeRock server within the same browser as the sample app; logout from ForgeRock if you are and use a different browser
Implementing the ForgeRock SDK
Step 1. Configure the SDK to your ForgeRock server
Now that we have our environment and servers setup, let’s jump into the application! Within your IDE of choice, navigate to the samples/reactjs-todo/client directory. This directory is where you will spend the rest of your time.
First, open up the index.js file, import the Config object from the JavaScript SDK and call the set method on this object:
+ // NOTE: ForgeRock SDK is already installed as a dependency
+ import { Config } from '@forgerock/javascript-sdk';
  import React from 'react';
  import ReactDOM from 'react-dom';

@@ collapsed @@

+ Config.set();

  /**
  * Initialize the React application
  * This is an IIFE (Immediately Invoked Function Expression),
  * so it calls itself.
  */
  (async function initAndHydrate() {

@@ collapsed @@
The use of set should always be the first SDK method called and is frequently done at the application’s top-level file. To configure the SDK to communicate with the journeys, OAuth clients, and realms of the appropriate ForgeRock server, pass a configuration object with the appropriate values.
The configuration object you will use in this instance will pull most of its values out of the .env variables previously setup, which are mapped to constants within our constants.js file:
@@ collapsed @@

  Config.set(
+   {
+     clientId: WEB_OAUTH_CLIENT,
+     redirectUri: `${APP_URL}/callback`,
+     scope: 'openid profile email',
+     serverConfig: {
+       baseUrl: AM_URL,
+       timeout: '5000',
+     },
+     realmPath: REALM_PATH,
+     tree: JOURNEY_LOGIN,
+   }
  );

@@ collapsed @@
Go back to your browser and refresh the home page. There should be no change to what’s rendered, and no errors in the console. Now that the app is configured to your ForgeRock server, let’s wire up the simple login page!
Step 2. Building the login page
First, let’s review how the application renders the home page:
index.js > router.js > view/home.js > inline code + components (components/)
For the login page, the same pattern applies except it has less code within the view file:
index.js > router.js > view/login.js > components/journey/form.js
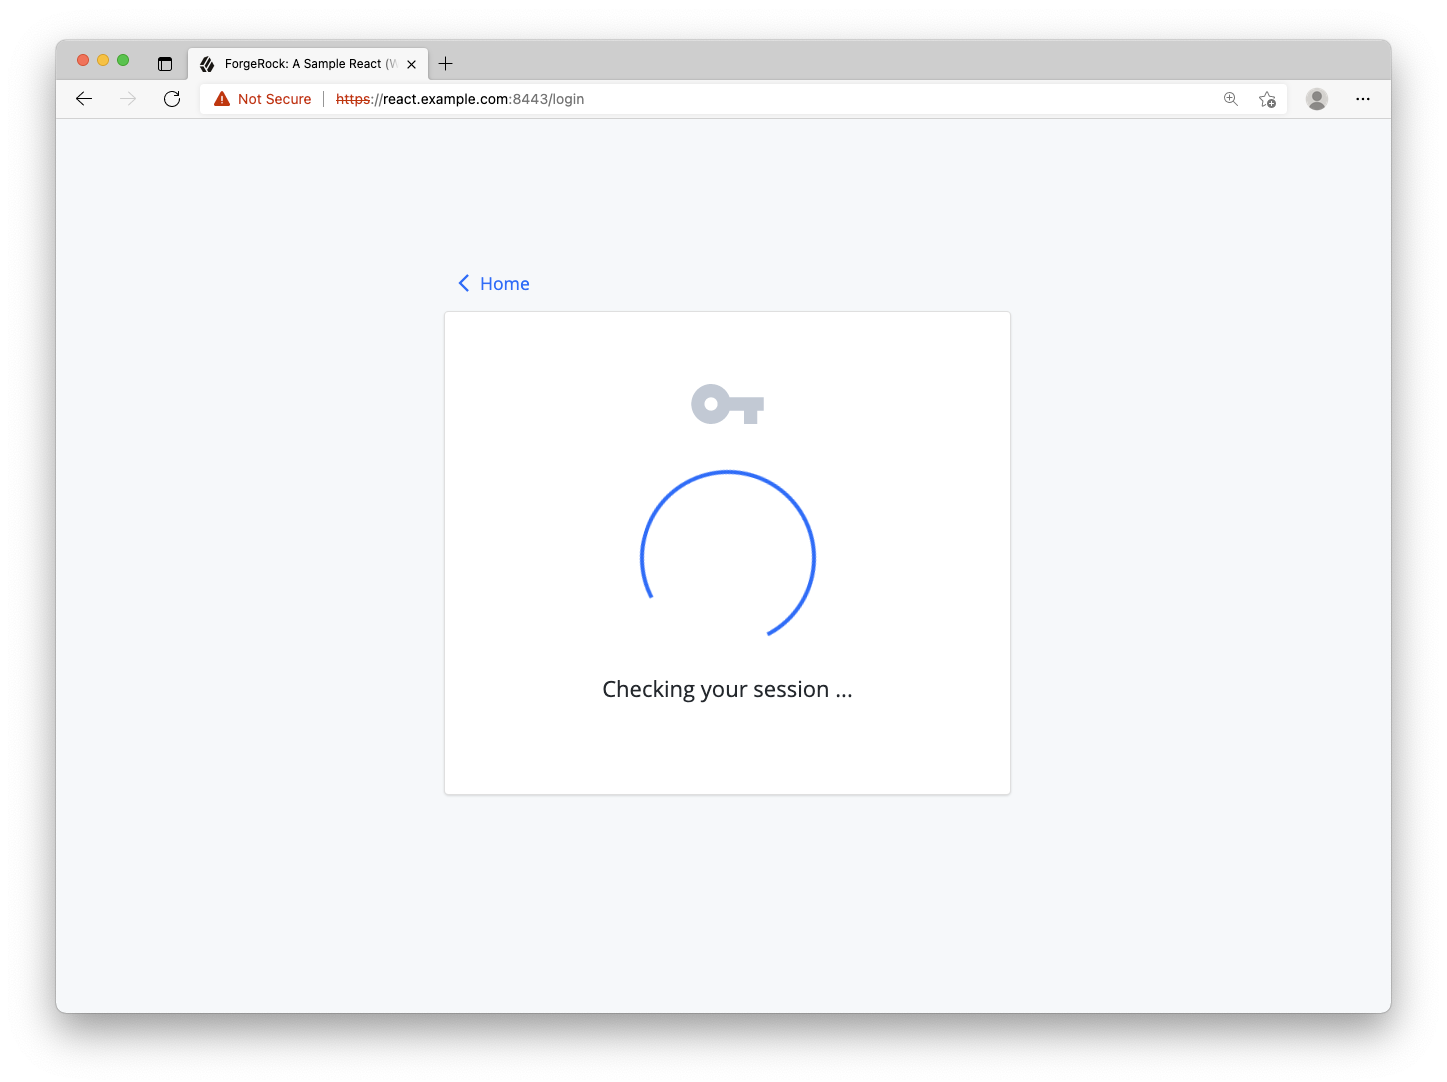
Navigate to the app’s login page within your browser. You should see a “loading” spinner and message that’s persistent since it doesn’t have the data needed to render the form. To ensure the correct form is rendered, the initial data needs to be retrieved from the ForgeRock server. That will be the first task.
Since most of the action is taking place in components/journey/form.js, open it and add the JavaScript SDK import:
+ import { FRAuth } from '@forgerock/javascript-sdk';

@@ collapsed @@
FRAuth is the first object used as it provides the necessary methods for authenticating a user against the Login Journey/Tree. Use the start method of FRAuth as it returns data we need for rendering the form.
You will need to add two new imports from the React package: useState and useEffect. You’ll use the useState method for managing the data received from the ForgeRock server, and the useEffect is needed due to the FRAuth.start method resulting in a network request.
  import { FRAuth } from '@forgerock/javascript-sdk';
- import React from 'react';
+ import React, { useEffect, useState } from 'react';

  import Loading from '../utilities/loading';

  export default function Form() {
+   const [step, setStep] = useState(null);

+   useEffect(() => {
+     async function getStep() {
+       try {
+         const initialStep = await FRAuth.start();
+         console.log(initialStep);
+         setStep(initialStep);
+       } catch (err) {
+         console.error(`Error: request for initial step; ${err}`);
+       }
+     }
+     getStep();
+   }, []);

    return <Loading message="Checking your session ..." />;
  }
NOTE: We are passing an empty array as the second argument into useEffect. This instructs the useEffect to only run once after the component mounts. This is functionally equivalent to a class component using componentDidMount to run an asynchronous method after the component mounts.
The above code will result in two logs to your console: one that will be null and the other should be an object with a few properties. The property to focus on is the callbacks property. This property contains the instructions for what needs to be rendered to the user for input collection.
The below is a summary of what you’ll do to get the form to react to the new callback data:
- Import the needed form-input components
- Create a function to map over the
callbacksand assign the appropriate component to render - Within the JSX, use a ternary to conditionally render the
callbacksdepending on their presence - If we do have callbacks, use our mapping function to render them
First, import the Password, Text and Unknown components.
  import { FRAuth } from '@forgerock/javascript-sdk';
  import React, { useEffect, useState } from 'react';

  import Loading from '../utilities/loading';
+ import Alert from './alert';
+ import Password from './password';
+ import Text from './text';
+ import Unknown from './unknown';

@@ collapsed @@
Next, within the Form function body, create the function that maps these imported components to their appropriate callback.
@@ collapsed @@

  export default function Form() {
    const [step, setStep] = useState(null);

@@ collapsed @@

+   function mapCallbacksToComponents(cb, idx) {
+     const name = cb?.payload?.input?.[0].name;
+     switch (cb.getType()) {
+       case 'NameCallback':
+         return <Text callback={cb} inputName={name} key='username' />;
+       case 'PasswordCallback':
+         return <Password callback={cb} inputName={name} key='password' />;
+       default:
+         // If current callback is not supported, render a warning message
+         return <Unknown callback={cb} key={`unknown-${idx}`} />;
+     }
+   }
    return <Loading message="Checking your session ..." />;
  }
Finally, check for the presence of the step.callbacks, and if they exist, map over them with the function from above. Replace the single return of <Loading message="Checking your session ..." /> with the following:
@@ collapsed @@

+   if (!step) {
      return <Loading message='Checking your session ...' />;
+   } else if (step.type === 'Step') {
+     return (
+       <form className='cstm_form'>
+         {step.callbacks.map(mapCallbacksToComponents)}
+         <button className='btn btn-primary w-100' type='submit'>
+           Sign In
+         </button>
+       </form>
+     );
+   } else {
+     return <Alert message={step.payload.message} />;
  }
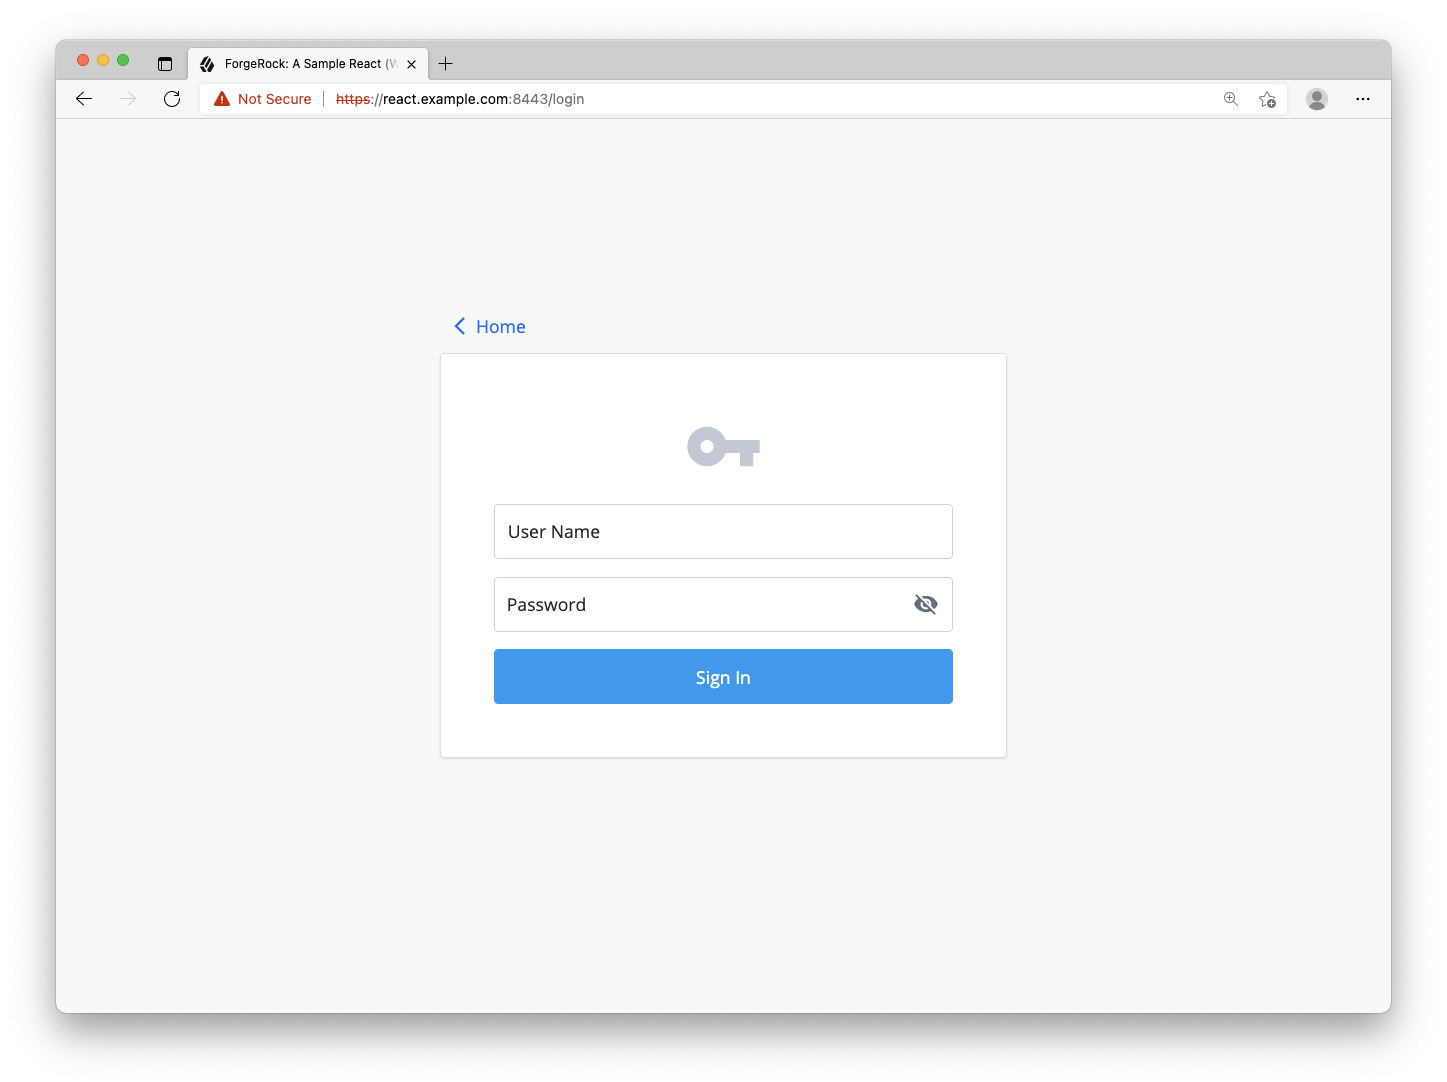
Refresh the page, and you should now have a dynamic form that reacts to the callbacks returned from our initial call to ForgeRock.
Step 3 Handling the login form submission
Since a form that can’t submit anything isn’t very useful, we’ll now handle the submission of the user input values to ForgeRock. First, let’s edit the current form element, <form className="cstm_form">, and add an onSubmit handler with a simple, inline function.
@@ collapsed @@

- <form className='cstm_form'>
+ <form
+   className="cstm_form"
+   onSubmit={(event) => {
+     event.preventDefault();
+     async function getStep() {
+       try {
+         const nextStep = await FRAuth.next(step);
+         console.log(nextStep);
+         setStep(nextStep);
+       } catch (err) {
+         console.error(`Error: form submission; ${err}`);
+       }
+     }
+     getStep();
+   }}
+ >
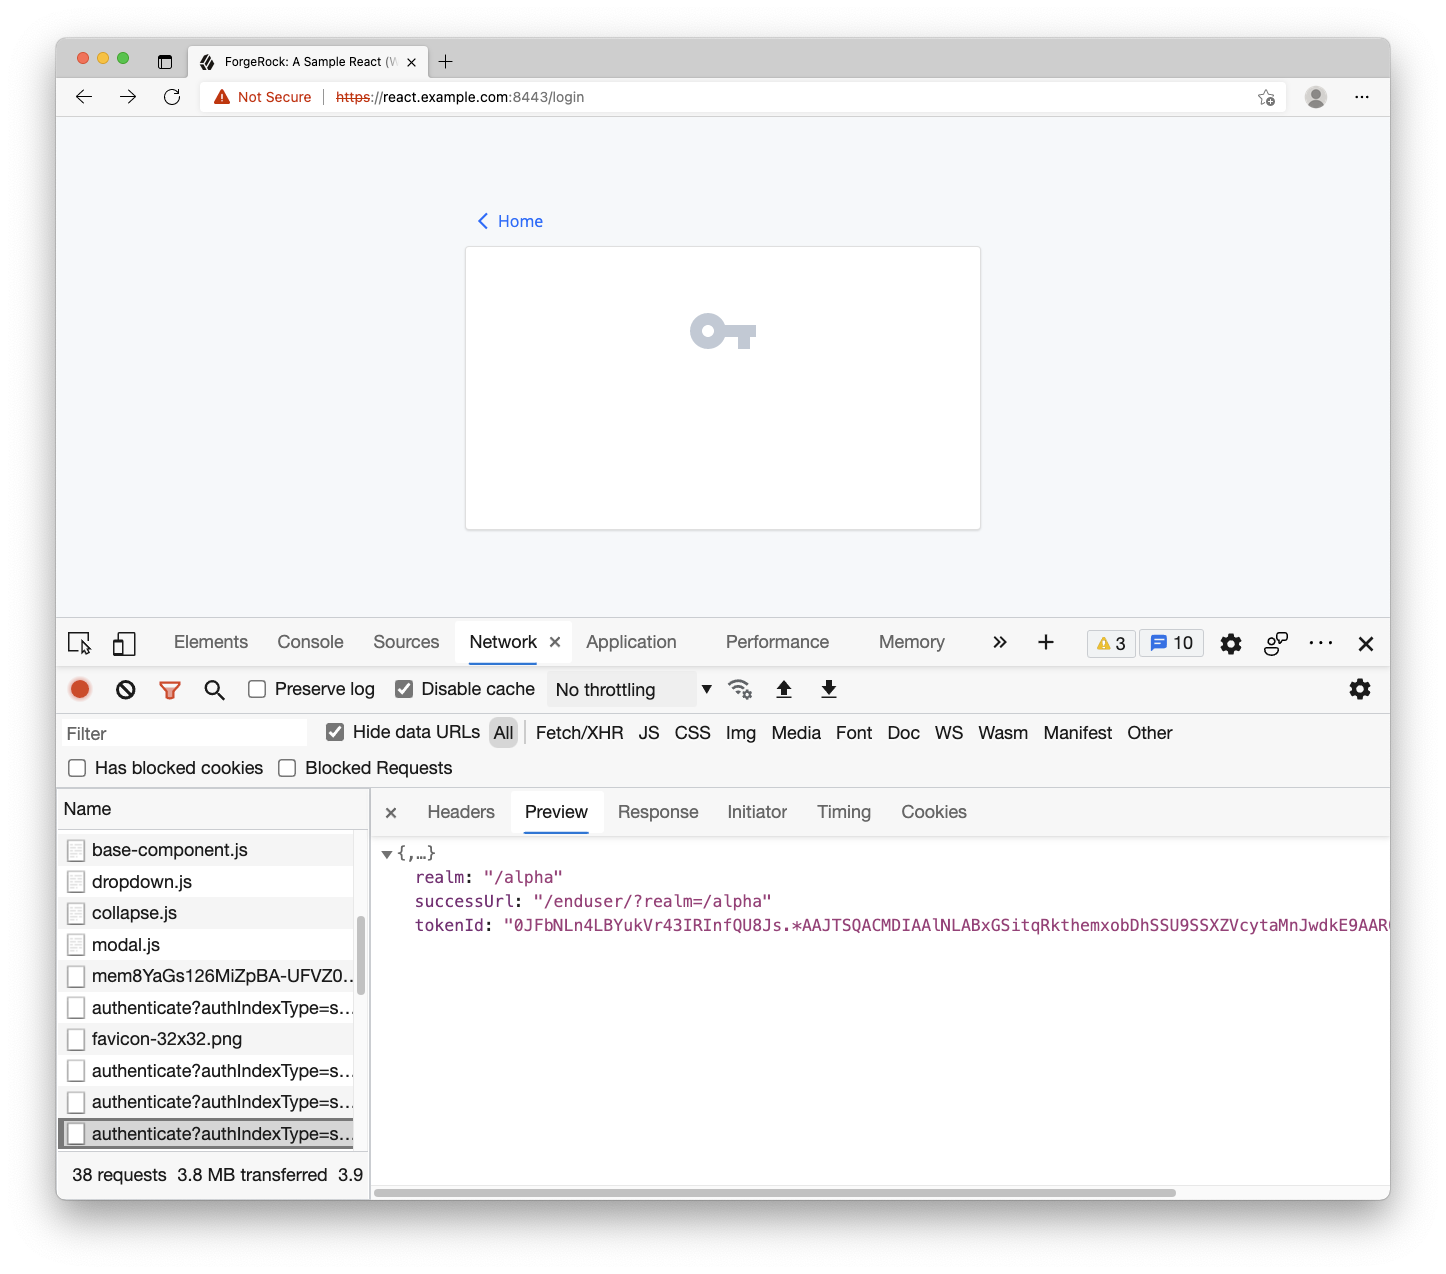
Refresh the login page and use the test user to login. You will get a mostly blank login page if the user’s credentials are valid and the journey completes. You can verify this by going to the Network panel within the developer tools and inspect the last /authenticate request. It should have a tokenId and successUrl property.
You may ask, “How did the user’s input values get added to the step object?” Let’s take a look at the component for rendering the username input. Open up the Text component: components/journey/text.js. Notice how special methods are being used on the callback object. These are provided as convenience methods by the SDK for getting and setting data.
@@ collapsed @@

  export default function Text({ callback, inputName }) {
    const [state] = useContext(AppContext);
    const existingValue = callback.getInputValue();

    const textInputLabel = callback.getPrompt();
    function setValue(event) {
      callback.setInputValue(event.target.value);
    }

    return (
      <div className={`cstm_form-floating form-floating mb-3`}>
        <input
          className={`cstm_form-control form-control ${validationClass} bg-transparent ${state.theme.textClass} ${state.theme.borderClass}`}
          defaultValue={existingValue}
          id={inputName}
          name={inputName}
          onChange={setValue}
          placeholder={textInputLabel}
        />
        <label htmlFor={inputName}>{textInputLabel}</label>
      </div>
    );
  }
The two important items to focus on are the callback.getInputValue() and the callback.setInputValue(). The getInputValue retrieves any existing value that may be provided by ForgeRock, and the setInputValue sets the user’s input on the callback while they are typing (i.e. onChange). Since the callback is passed from the Form to the components by “reference” (not by “value”), any mutation of the callback object within the Text (or Password) component is also contained within the step object in Form.
NOTE: You may think, “That’s not very idiomatic React! Shared, mutable state is bad.” And, yes, you are correct, but we are taking advantage of this to keep everything simple (and this guide from being too long), so I hope you can excuse the pattern.
Each callback type has its own collection of methods for getting and setting data in addition to a base set of generic callback methods. These methods are added to the callback prototype by the SDK automatically. For more information about these callback methods, see our API documentation, or the source code in Github, for more details.
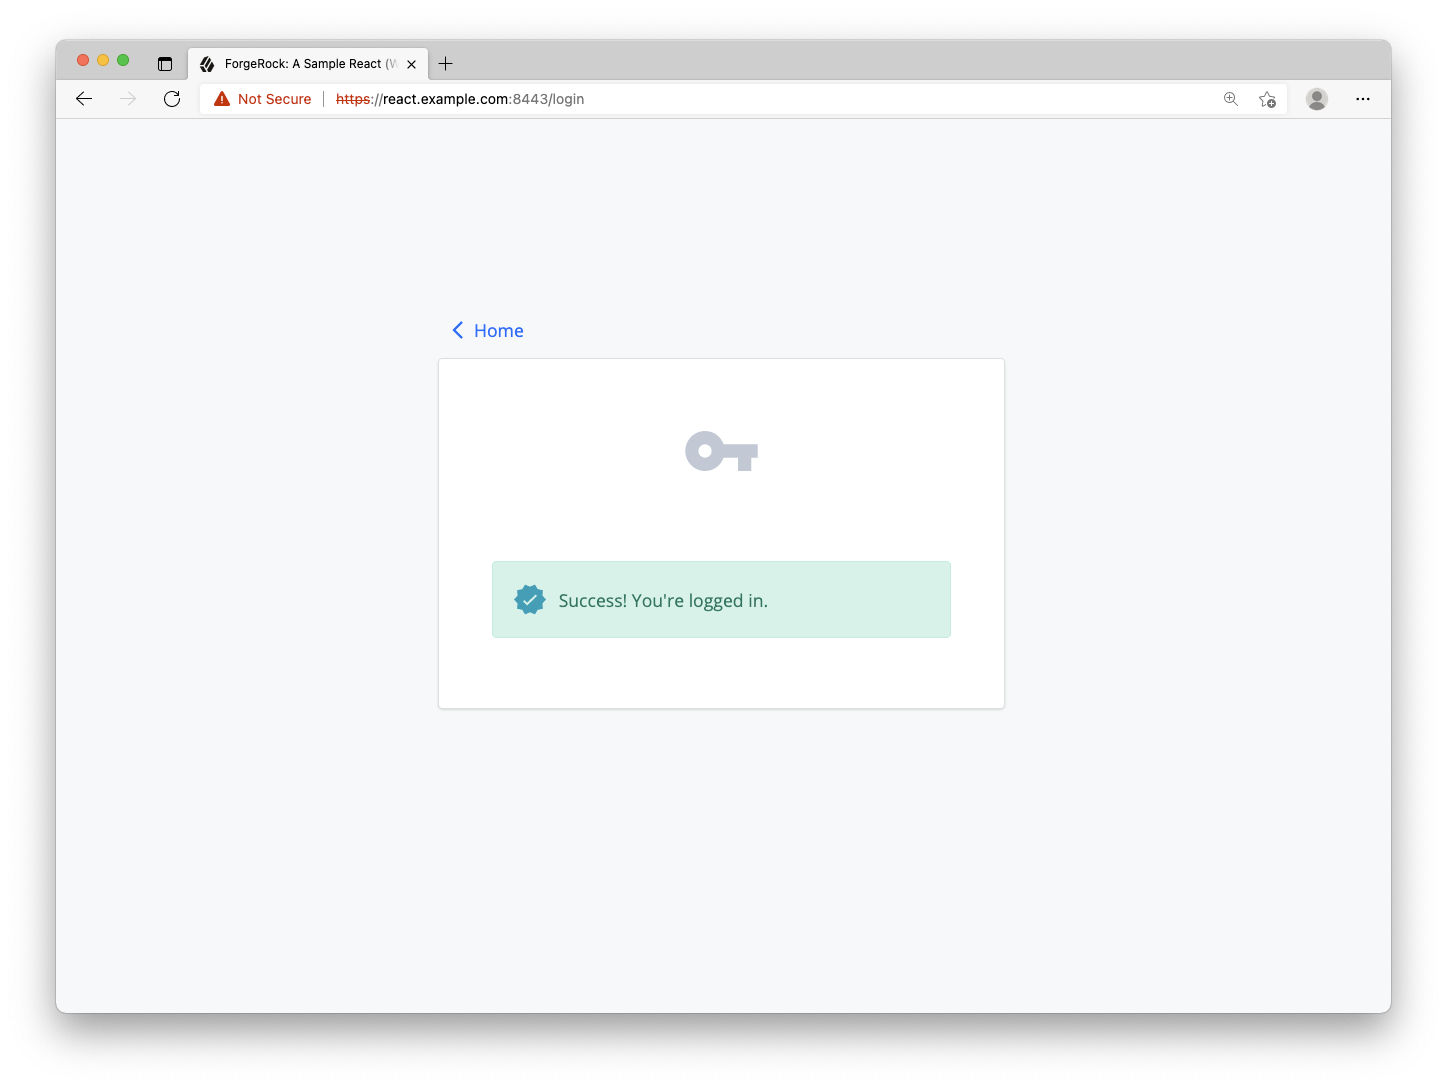
Now that the form is rendering and submitting, add conditions to the Form component for handling the success and error response from ForgeRock. This condition handles the success result of the authentication journey.
@@ collapsed @@

  if (!step) {
    return <Loading message='Checking your session ...' />;
+ } else if (step.type === 'LoginSuccess') {
+   return <Alert message="Success! You're logged in." type='success' />;
  } else if (step.type === 'Step') {

@@ collapsed @@
Once you handle the success and error condition, return back to the browser and remove all cookies created from any previous logins. Refresh the page and login with your test user created in the Setup section above. You should see a “Success!” alert message. Congratulations, you are now able to authenticate users!
Step 4. Continuing to the OAuth 2.0 flow
At this point, the user is authenticated. The session has been created and a session cookie has been written to the browser. This is “session-based authentication”, and is viable when your system (apps and services) can rely on cookies as the access artifact. However, there are increasing limitations with the use of cookies. In response to this, and other reasons, it’s common to add an additional step to your authentication process: the “OAuth” or “OIDC flow”.
The goal of this flow is to attain a separate set of tokens, replacing the need for cookies as the shared access artifact. The two common tokens are the Access Token and the ID Token. We will focus on the access token in this guide. The specific flow that the SDK uses to acquire these tokens is called the Authorization Code Flow with PKCE.
To start, import the TokenManager object from the ForgeRock SDK into the same form.js file.
- import { FRAuth } from '@forgerock/javascript-sdk';
+ import { FRAuth, TokenManager } from '@forgerock/javascript-sdk';

@@ collapsed @@
Only an authenticated user that has a valid session can successfully request OAuth/OIDC tokens. Make sure we make this token request after we get a 'LoginSuccess' back from the authentication journey. This is an asynchronous call to the ForgeRock server. There are multiple ways to handle this, but we’ll use the useEffect and useState hooks.
Add a useState to the top of the function body to create a simple boolean flag of the user’s authentication state.
@@ collapsed @@

  export default function Form() {
    const [step, setStep] = useState(null);
+   const [isAuthenticated, setAuthentication] = useState(false);

@@ collapsed @@
Now, add a new useEffect hook to allow us to work with another asynchronous request. Unlike our first useEffect, this one will be dependent on the state of isAuthenticated. To do this, add isAuthenticated to the array passed in as the second argument. This instructs React to run the useEffect function when the value of isAuthenticated is changed.
@@ collapsed @@

+ useEffect(() => {
+   async function oauthFlow() {
+     try {
+       const tokens = await TokenManager.getTokens();
+       console.log(tokens);
+     } catch (err) {
+       console.error(`Error: token request; ${err}`);
+     }
+   }
+   if (isAuthenticated) {
+     oauthFlow();
+   }
+ }, [isAuthenticated]);

  @@ collapsed @@
Finally, we need to conditionally set this authentication flag when we have a success response from our authentication journey. In your form element’s onSubmit handler, add a simple conditional and set the flag to true.
@@ collapsed @@

  <form
    className="cstm_form"
    onSubmit={(event) => {
      event.preventDefault();
      async function getStep() {
        try {
          const nextStep = await FRAuth.next(step);
+         if (nextStep.type === 'LoginSuccess') {
+           setAuthentication(true);
+         }
          console.log(nextStep);
          setStep(nextStep);
        } catch (err) {
          console.error(`Error: form submission; ${err}`);
        }
      }
      getStep();
    }}
  >

@@ collapsed @@
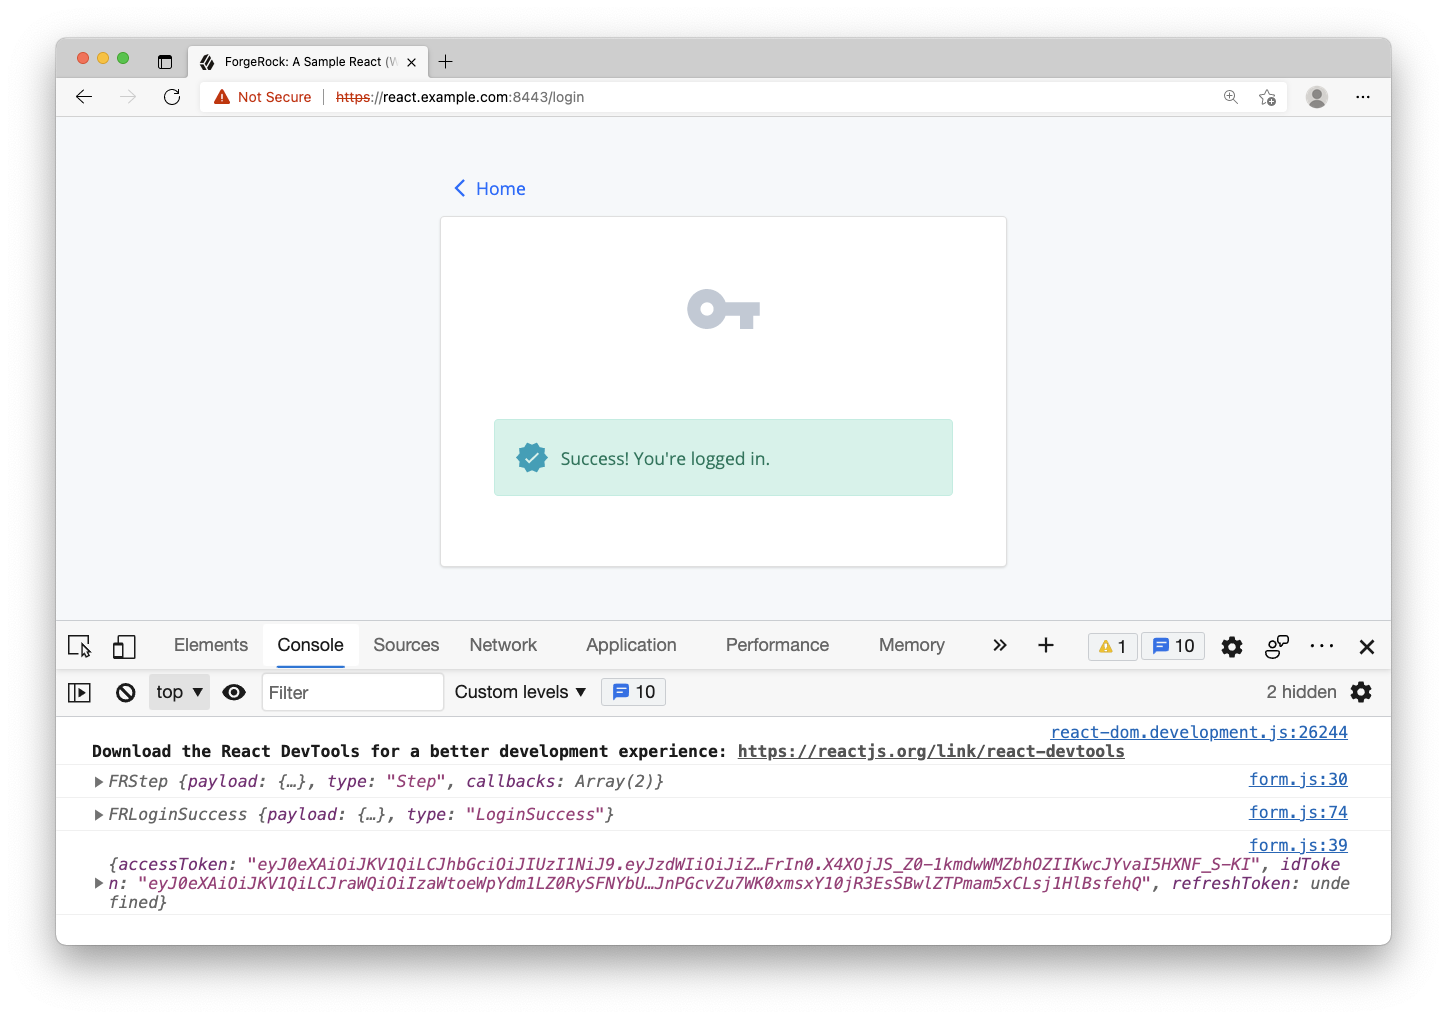
Once the changes are made, return back to your browser and remove all cookies created from any previous logins. Refresh the page and verify the login form is rendered. If the success message continues to display, make sure “third-party cookies” are also removed.
Login with your test user. You should get a success message like you did before, but now check your browser’s console log. You should see an additional entry of an object that contains your idToken and accessToken. Since the SDK handles storing these tokens for you, which are in localStorage, you have completed a full login and OAuth/OIDC flow.
Step 5. Request user information
Now that the user is authenticated and an access token is attained, you can now make your first authenticated request! The SDK provides a convenience method for calling the /userinfo endpoint, a standard OAuth endpoint for requesting details about the current user. The data returned from this endpoint correlates with the “scopes” set within the SDK configuration. The scopes profile and email will allow the inclusion of user’s first and last name as well as their email address.
Within the form.js file, add the UserManager object to our ForgeRock SDK import statement.
- import { FRAuth, TokenManager } from '@forgerock/javascript-sdk';
+ import { FRAuth, TokenManager, UserManager } from '@forgerock/javascript-sdk';

@@ collapsed @@
The getCurrentUser method on this new object will request the user’s data and validate the existing access token. Just after the TokenManager.getTokens method call, within the oauthFlow function from above, add this new method.
@@ collapsed @@

  try {
    const tokens = await TokenManager.getTokens();
    console.log(tokens);
+   const user = await UserManager.getCurrentUser();
+   console.log(user);

@@ collapsed @@
If the access token is valid, the user information will be logged to the console, just after the tokens. Before we move on from the form.js file, set a small portion of this state to the global context for application-wide state access. Add the remaining imports for setting the state and redirecting back to the home page: useContext, AppContext and useHistory.
- import React, { useEffect, useState } from 'react';
+ import React, { useContext, useEffect, useState } from 'react';
+ import { useHistory } from 'react-router-dom';

+ import { AppContext } from '../../global-state';

@@ collapsed @@
At the top of the Form function body, use the useContext method to get the app’s global state and methods. Call the useHistory method to get the history object.
  export default function Form() {
    const [step, setStep] = useState(null);
    const [isAuthenticated, setAuthentication] = useState(false);
+   const [_, methods] = useContext(AppContext);
+   const history = useHistory();

@@ collapsed @@
After the UserManager.getCurrentUser() call, set the new user information to the global state and redirect to the home page.
@@ collapsed @@

  const user = await UserManager.getCurrentUser();
  console.log(user);

+ methods.setUser(user.name);
+ methods.setEmail(user.email);
+ methods.setAuthentication(true);

+ history.push('/');

@@ collapsed @@
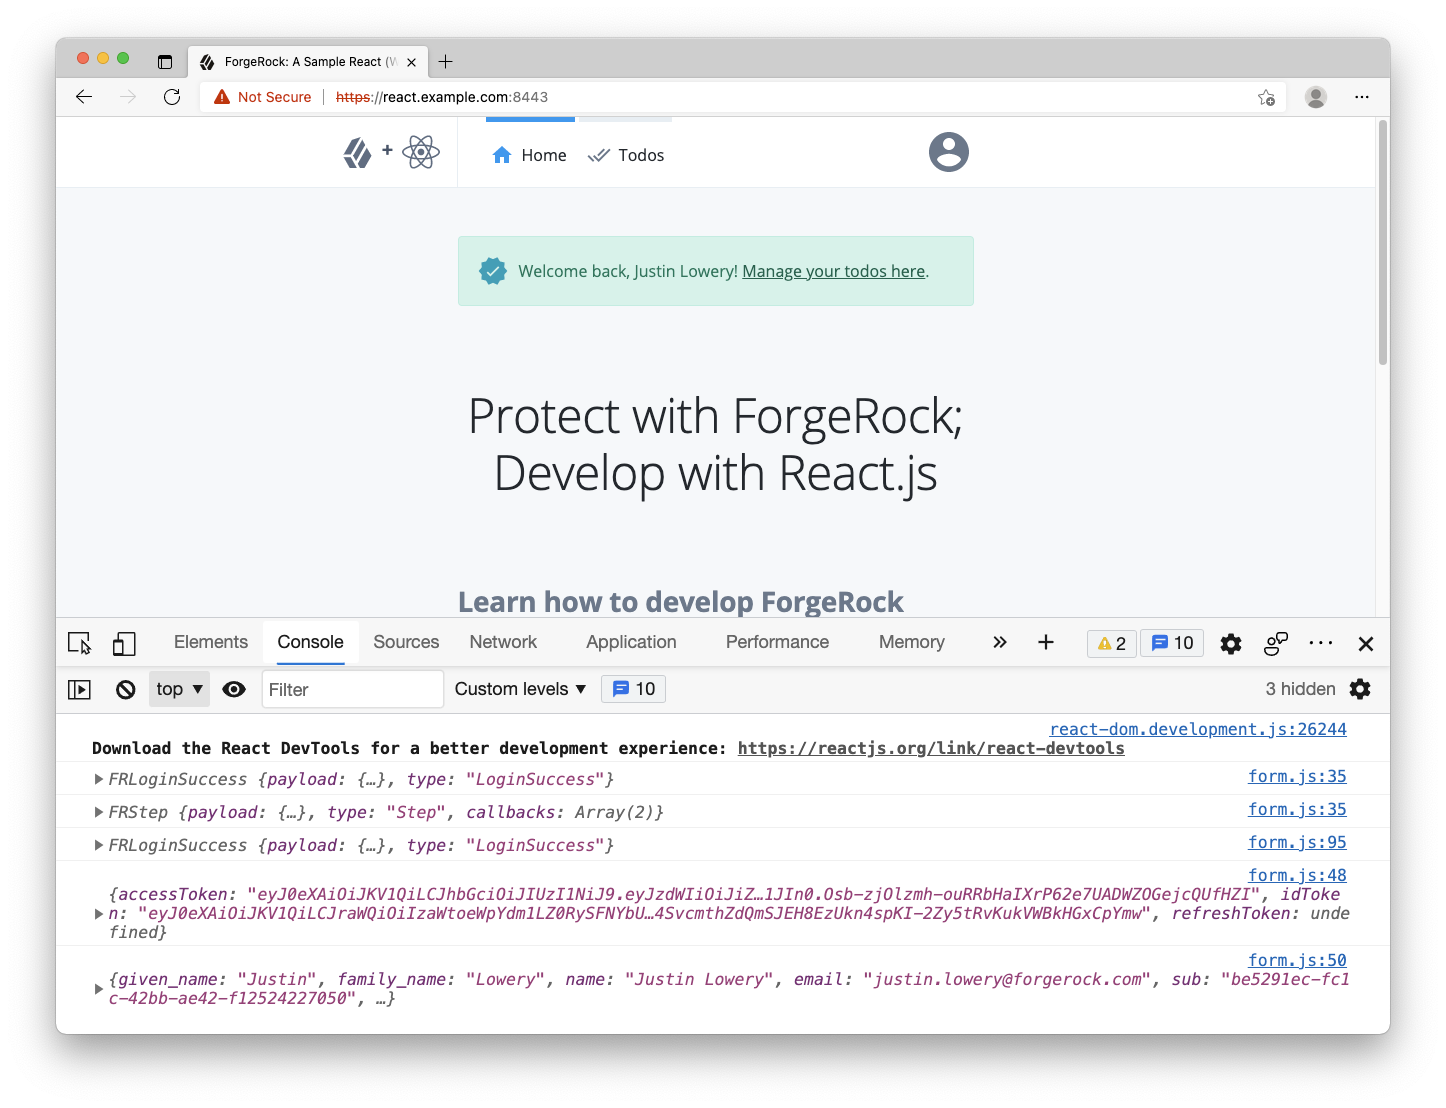
Revisit the browser, clear out all cookies, storage and cache, and log in with you test user. If you landed on the home page and the logs in the console show tokens and user data, you have successfully used the access token for retrieving use data. Notice that the home page looks a bit different with an added success alert and message with the user’s full name. This is due to the app “reacting” to the global state that we set just before the redirection.
Step 6. Reacting to the presence of the access token
To ensure your app provides a good user-experience, it’s important to have a recognizable, authenticated experience, even if the user refreshes the page or closes and reopens the browser tab. This makes it clear to the user that they are logged in.
Currently, if you refresh the page, the authenticated experience is lost. Let’s fix that!
Because the SDK stores the tokens in localStorage, you can use their presence as a hint for their authentication status without requiring a network request. This allows for quickly rendering the appropriate navigational elements and content to the screen.
To do this, add the TokenStorage.get method to the index.js file as it will provide what we need to rehydrate the user’s authentication status. First, import TokenStorage into the file. Use the TokenStorage.get method within the initAndHydrate function. Second, add these values to the useGlobalStateMgmt function call.
- import { Config } from '@forgerock/javascript-sdk';
+ import { Config, TokenStorage } from '@forgerock/javascript-sdk';

  (async function initAndHydrate() {
+   let isAuthenticated;
+   try {
+     isAuthenticated = !!(await TokenStorage.get());
+   } catch (err) {
+     console.error(`Error: token retrieval for hydration; ${err}`);
+   }

@@ collapsed @@

  function Init() {
    const stateMgmt = useGlobalStateMgmt({
      email,
+     isAuthenticated,
      prefersDarkTheme,
      username,
    });

@@ collapsed @@
With a global state API available throughout the app, different components can pull this state in and use it to conditionally render one set of UI elements versus another. Navigation elements and the displaying of profile data are good examples of such conditional rendering. Examples of this can be found by reviewing components/layout/header.js and views/home.js.
Step 7. Validating the access token
The presence of the access token can be a good hint for authentication, but it doesn’t mean the token is actually valid. Tokens can expire or be revoked on the server-side.
You can ensure the token is still valid with the use of getCurrentUser method from earlier. This is optional, depending on your product requirements. If needed, you can protect routes with a token validation check before rendering portions of your application. This can prevent a potentially jarring experience of partial rendering UI that may be ejected due to an invalid token.
To validate a token for protecting a route, open the router.js file, import the ProtectedRoute module and replace the regular <Route path="todos"> with the new ProtectedRoute wrapper.
@@ collapsed @@

  import Register from './views/register';
+ import { ProtectedRoute } from './utilities/route';
  import Todos from './views/todos';

@@ collapsed @@

- <Route>
+ <ProtectedRoute path='/todos'>
    <Header />
    <Todos />
    <Footer />
- </Route>
+ </ProtectedRoute>;

@@ collapsed @@
Let’s take a look at what this wrapper does. Open utilities/route.js file and focus just on the validateAccessToken function within the useEffect function. Currently, it’s just checking for the existence of the tokens with TokenStorage.get, which may be fine for some situations. We can optionally call the UserManager.getCurrentUser method to ensure the stored tokens are still valid.
To do this, import UserManager into the file, and then replace TokenStorage.get with UserManager.getCurrentUser.
  import React, { useContext, useEffect, useState } from 'react';
  import { Route, Redirect } from 'react-router-dom';
- import { TokenStorage } from '@forgerock/javascript-sdk';
+ import { UserManager } from '@forgerock/javascript-sdk';

@@ collapsed @@

  useEffect(() => {
    async function validateAccessToken() {
     if (auth) {
        try {
-         await TokenStorage.get();
+         await UserManager.getCurrentUser();
          setValid('valid');
        } catch (err) {

@@ collapsed @@
In the code above, we are reusing the getCurrentUser method to validate the token. If it succeeds, we can be sure our token is valid and call setValid to 'valid' . If it fails, we know it is not valid and call setValid to 'invalid'. We set that outcome with our setValid state method and the routing will know exactly where to redirect the user.
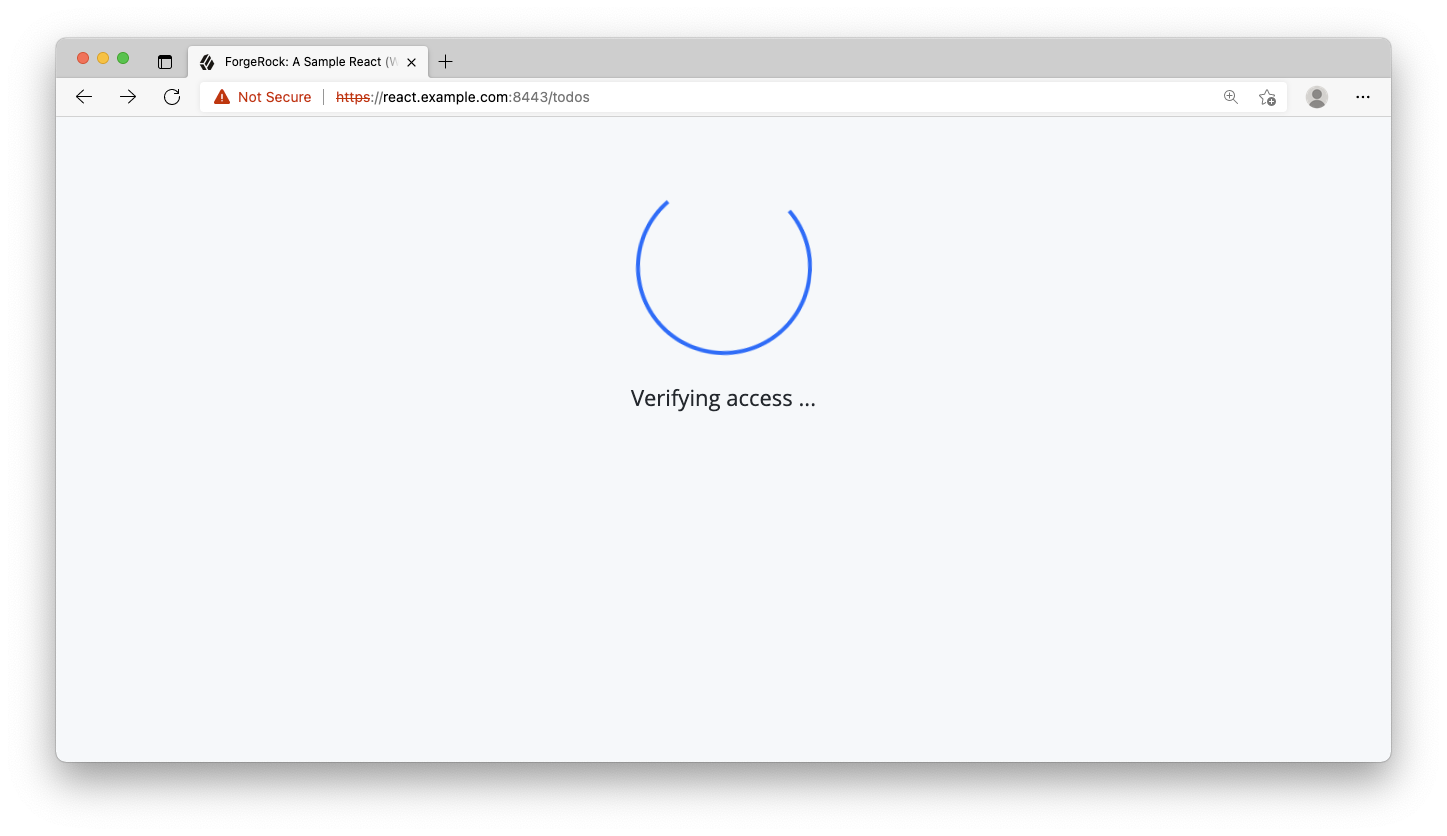
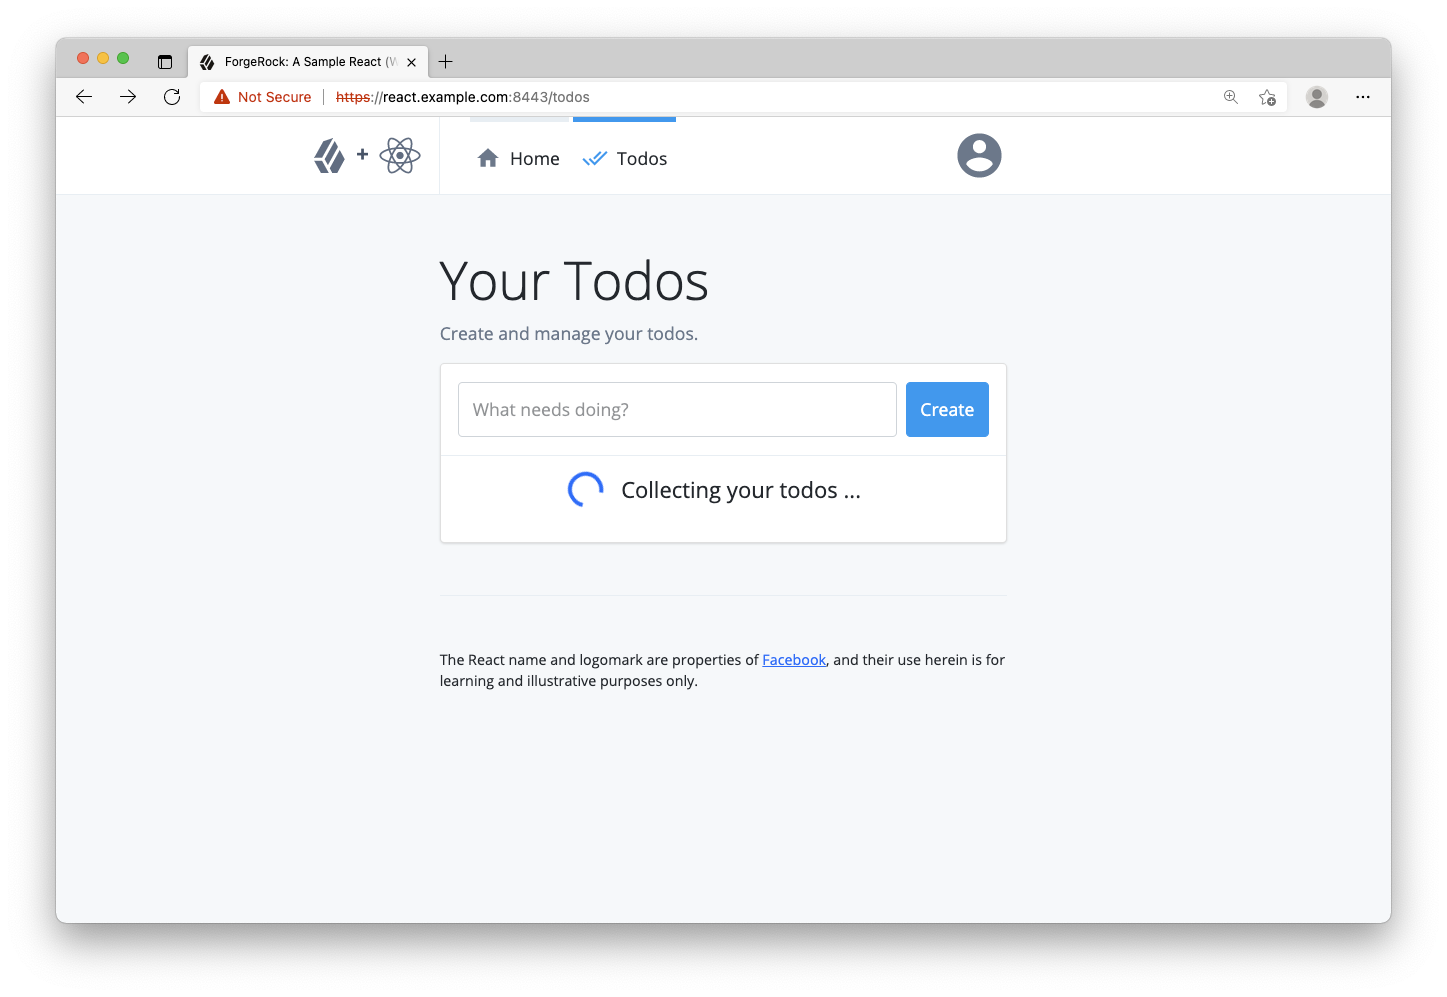
Revisit the browser and refresh the page. Navigate to the todos page. You will notice a quick spinner and text communicating that the app is “verifying access”. Once the server responds, the Todos page renders. As you can see, the consequence of this is the protected route now has to wait for the server to respond, but the user’s access has been verified by the server.
Step 8. Request protected resources with an access token
Once the Todos page renders, notice how the the todo collection has a persistent spinner to indicate the process of requesting todos. This is due to the fetch request not having the proper headers for making an authorized request, so the request does not succeed.
To make resource requests to a protected endpoint, we have an HttpClient module that provides a simple wrapper around the native fetch method of the browser. When you call the request method, it will retrieve the user’s access token, and attach it as a Bearer Token to the request as an authorization header. This is what the resource server will use to make its own request to the ForgeRock server to validate the user’s access token.
Open utilities/request.js and import the HttpClient from the ForgeRock SDK. Then, replace the native fetch method with the HttpClient.request method.
+ import { HttpClient } from '@forgerock/javascript-sdk';
  import { API_URL, DEBUGGER } from '../constants';

  export default async function apiRequest(resource, method, data) {
    let json;
    try {
-     const response = await fetch(`${API_URL}/${resource}`, {
+     const response = await HttpClient.request({
+       url: `${API_URL}/${resource}`,
+       init: {
          body: data && JSON.stringify(data),
          headers: {
            'Content-Type': 'application/json',
          },
          method: method,
+       },
      });

@@ collapsed @@
The init object in the above maps directly to the init options object seen in the official Request documentation in the Mozilla Web Docs. The interface of the response from the request also maps directly to the official Response object seen in the Mozilla Web Doc.
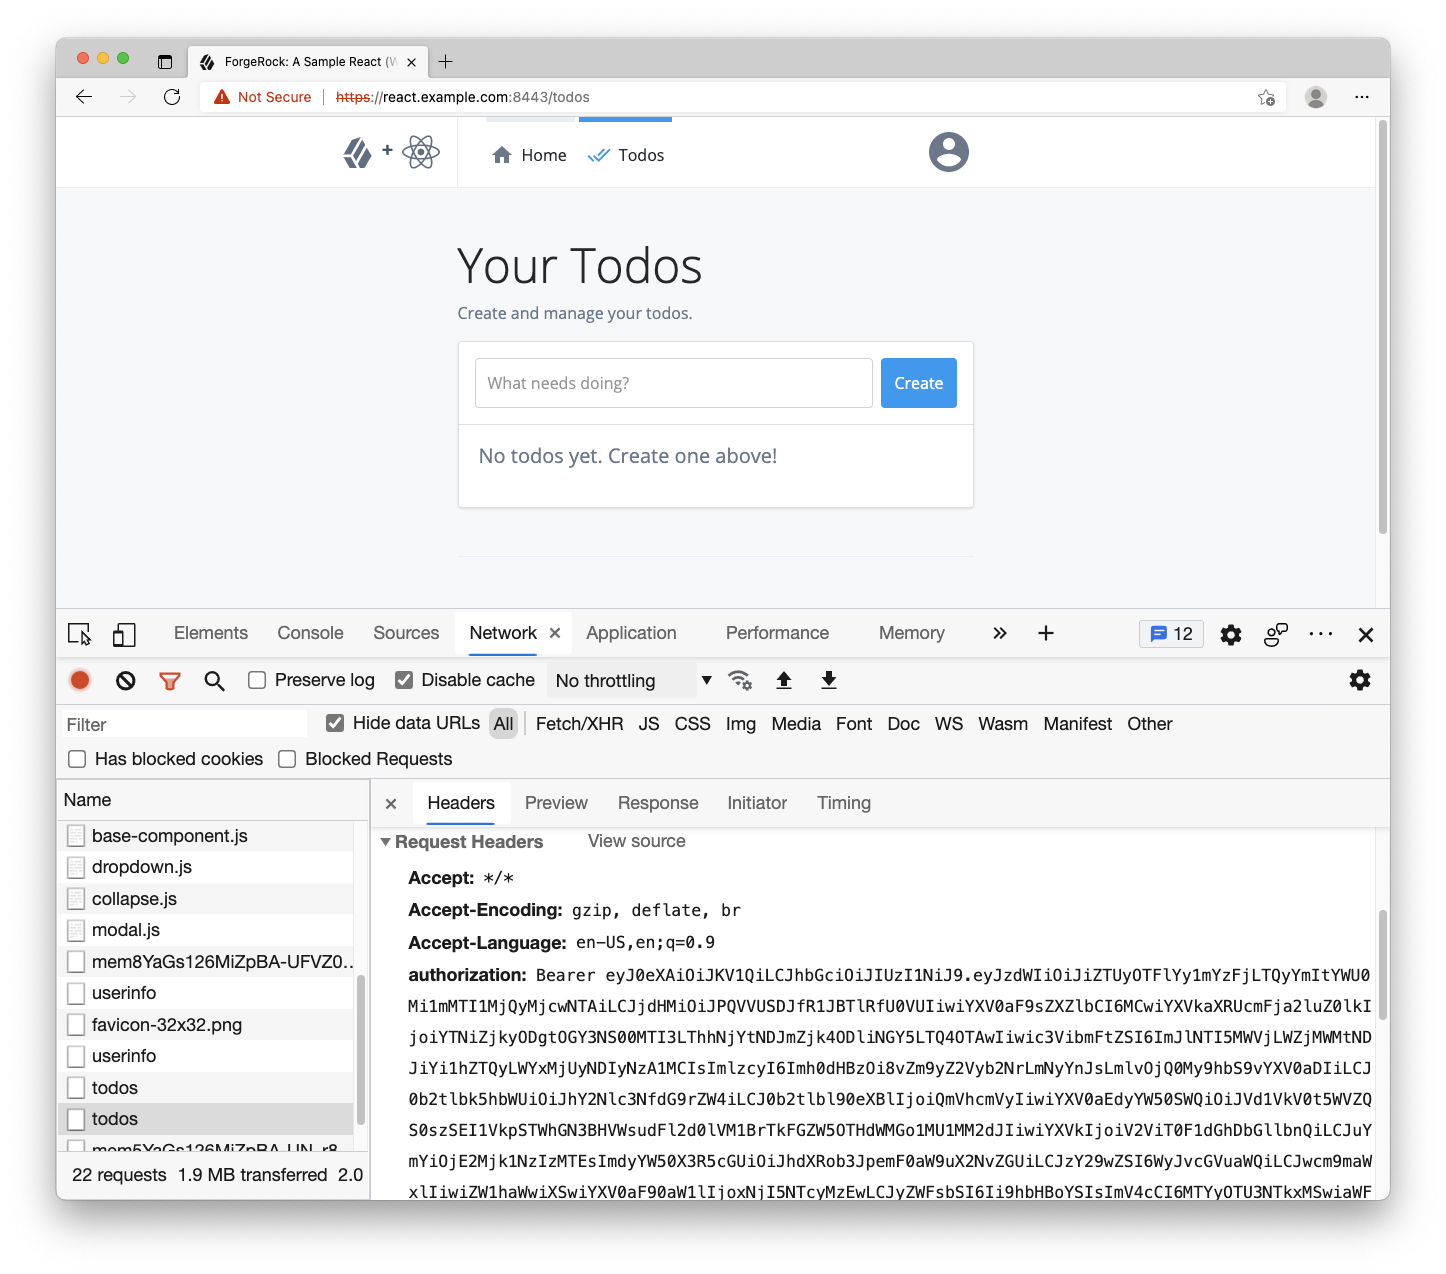
At this point, the user can login, request access tokens, and access the page of the protected resources (todos). Now, revisit the browser and clear out all cookies, storage and cache. Keeping the developer tools open and on the network tab, log in with you test user. Once you have been redirected to the home page, do the following:
- Click on the “Todos” item in the nav; a lot of network activity will be listed
- Find the network call to the
/todosendpoint (https://api.example.com:9443/todos) - Click on that network request and view the request headers
- Notice the
authorizationheader with the bearer token; that’s theHttpClientin action
Step 9. Handle logout request
Of course, you can’t have a protected app without providing the ability to log out. Luckily, this is a fairly easy task.
Open up the views/logout.js file and import the following:
FRUserfrom the ForgeRock SDKuseEffectanduseContextfrom ReactuseHistoryfrom React RouterAppContextfrom the global state module.
+ import { FRUser } from '@forgerock/javascript-sdk';
- import React from 'react';
+ import React, { useContext, useEffect } from 'react';
+ import { useHistory } from 'react-router-dom';

+ import { AppContext } from '../global-state';

@@ collapsed @@
Since logging out requires a network request, we need to wrap it in a useEffect and pass in a callback function with the following functionality:
@@ collapsed @@
export default function Logout() {
+ const [_, { setAuthentication, setEmail, setUser }] = useContext(AppContext);
+ const history = useHistory();
+ useEffect(() => {
+ async function logout() {
+ try {
+ await FRUser.logout();
+ setAuthentication(false);
+ setEmail('');
+ setUser('');
+ history.push('/');
+ } catch (error) {
+ console.error(`Error: logout; ${err}`);
+ }
+ }
+ logout();
+ }, []);
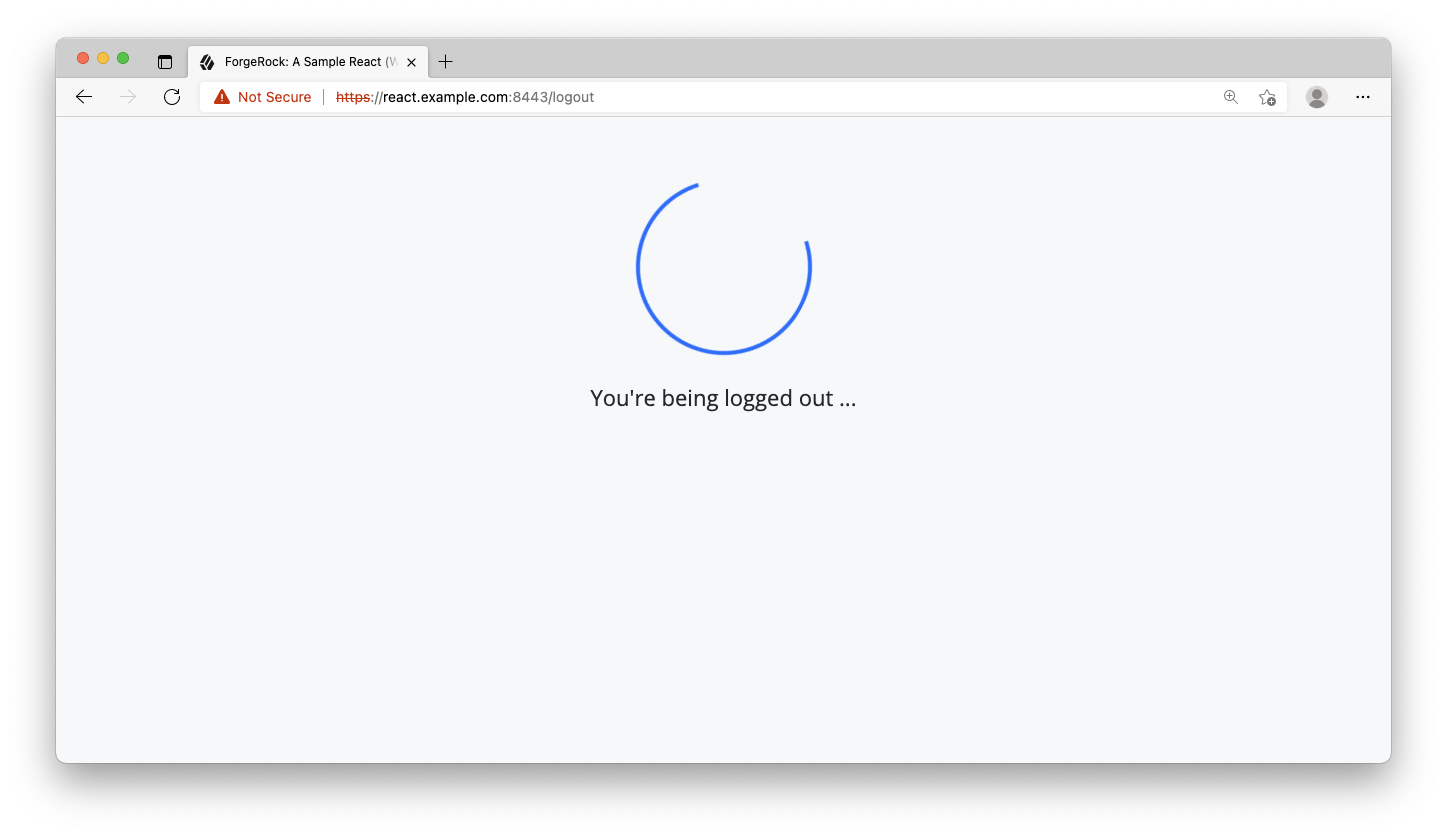
return <Loading classes="pt-5" message="You're being logged out ..." />;
}
Since we only want to call this method once, after the component mounts, we will pass in an empty array as a second argument for useEffect. After FRUser.logout completes, we just empty or falsify the global state to clean up and redirect back to the home page.
Once all the above is complete, return to your browser, empty the cache, storage and cache, and reload the page. You should now be able to login with the test user, navigate to the todos page, add and edit some todos, and logout by clicking the profile icon in the top-right and clicking “Sign Out”.
Congratulations, you just built a ForgeRock protected app with React JS.